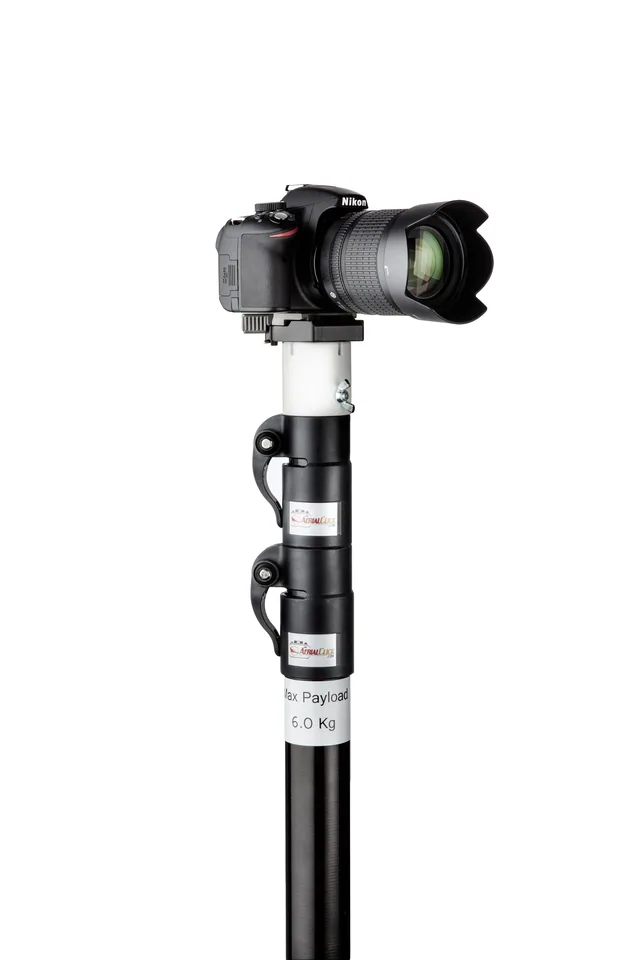
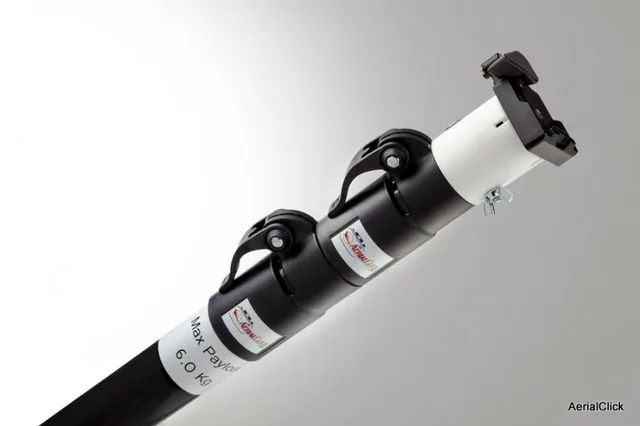
We have learned that a telescopic pole is very versatile and extremely useful in many fields of videomaking and photography.
Invaluable for interior design, but also - of course - for outdoor panoramic shots. A surprising tool for wild life photography and even more surprising for particularly dynamic and expressive portraits.
But there are several small tricks to bring out the best in your shots when you use a telescopic pole to take photos from unusual angles. In this article we pick 3 types of setting among those best suited to pole shots and give a small tip or trick for each of them to improve the framing and the final effect.
#1 - Nature: the right posture
Let's start with the "wild life" specialty, i.e. photos of wild nature. We know it is a slightly different specialty from the simple (so to speak) photo of an unspoiled landscape, because a wild image must also include animal species captured going about their usual activities (looking for food, playing, flying, fighting, etc.).
It is not an easy specialty, because it takes a lot, a real lot of patience and sometimes a whole day's work to save even a single shot.
The pole is static, motionless, discreet. That makes it perfect for wild life. With a telescopic pole you can first of all position the camera at a privileged height, but above all, using a simple and very precise remote control device such as the Camranger, you can "wait" in a more optimal and comfortable position and posture than waiting with your eye at the viewfinder, comfortably placed at a distance from the pole and the lens, with your eyes ready for the perfect moment to capture.
By setting up burst shooting from this perspective, generally called "bird's eye view", you can in fact capture ground fauna from a privileged angle as well as the flight of a flock of birds.
#2 - Interiors: the right framing
In interior design photos, overall shots are very important but also the most complex, because they need very wide framing, the right light, and must comprehensively include all the objects and furniture needed to understand the space as a whole.
A common wide-angle lens tends to distort corners and spaces, and this is damaging when the ultimate goal of the photo is to present furnishings or the spatial features.
In reality, by using an adjustable tripod or, even better, a light and handy telescopic pole, you can get excellent framing results even with a simple entry-level camera and the kit lens, the 18-55 f 4-5.6, setting the camera to manual at the minimum focal length and maximum aperture (f4) and ISO at 100 to keep noise to a minimum.
You may also be interested in the article
3 things that make telescopic poles a guarantee for aerial photography
#3 - Panoramic shots: the right verticality
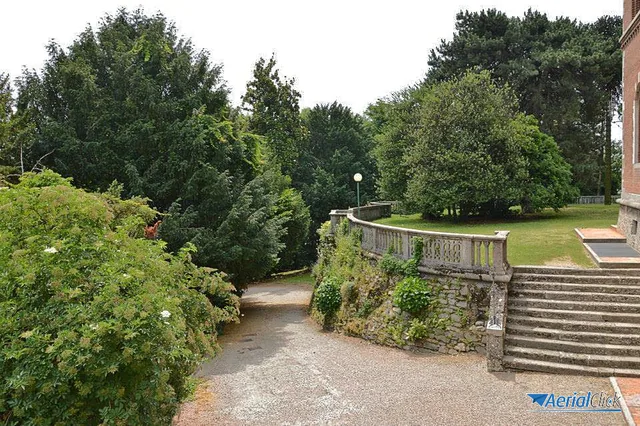
While for interiors a pole is almost never used at full height (except for special photos in lofts or old houses with very high vaulted ceilings), panoramic images can make the most of our pole's full extension potential.
If we also add a simple swivel head, we can also use the maximum verticality, giving a 'dive' effect, as if the photo had been taken from a drone or a glider coming in to land.
You may also be interested in the article
5 ways to boost your telescopic pole's performance in one move
And you, what tricks do you use to get the most out of your telescopic pole?